Uncategorized
How to Insulate a Roof

Oct
Roof insulation is an excellent solution to reduce heat loss through the top of a building, offering substantial energy savings, extended warmth, and lower energy bills. As a bonus, it can transform your loft into a comfortable space, perfect for storage or conversion into an extra living area.
If you’re keen to achieve these benefits, this Building Shop technical guide will show you how to install roof insulation efficiently. We’ll primarily focus on the best materials and methods for traditional pitched roofs. However, we’ll also present options for other roof styles so that every property can benefit from optimal energy efficiency.
Technical Guide: How to Insulate a Roof
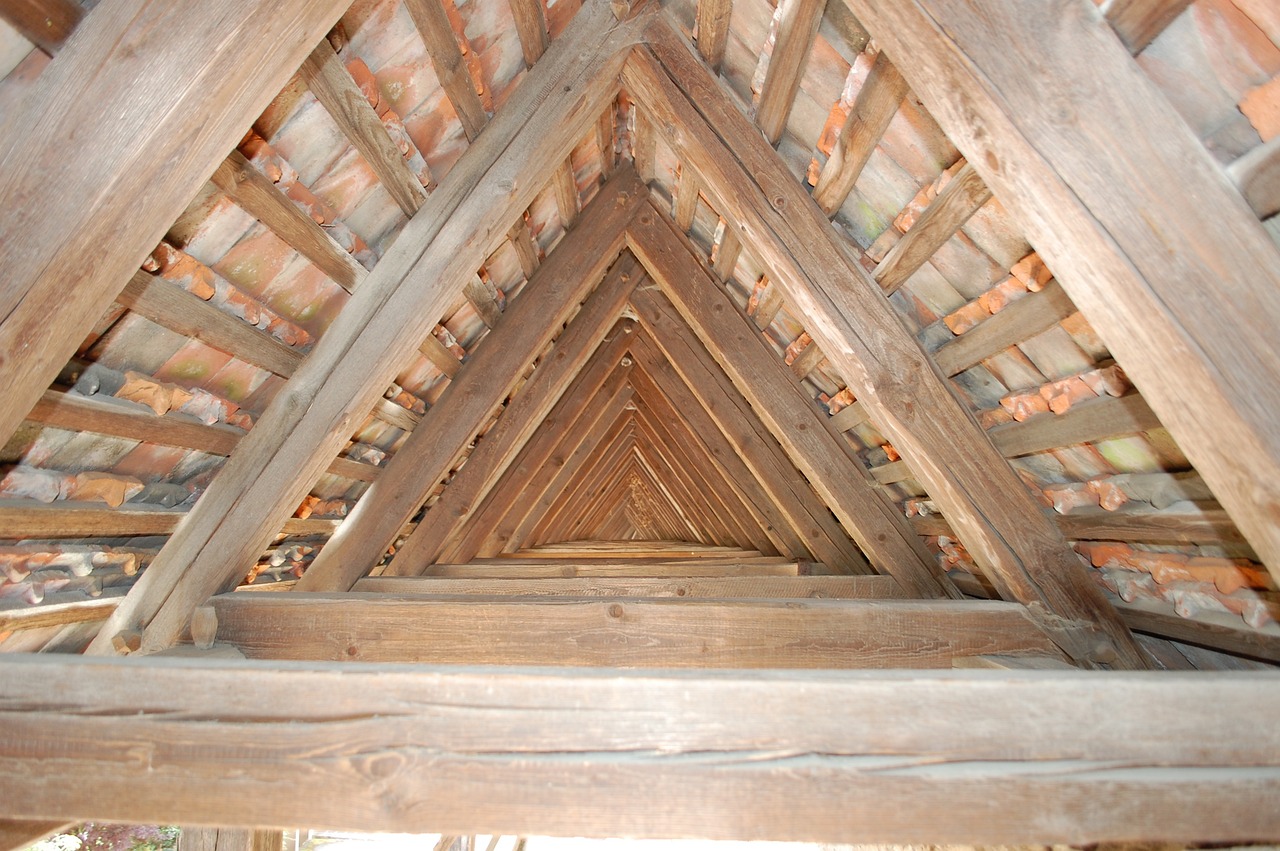
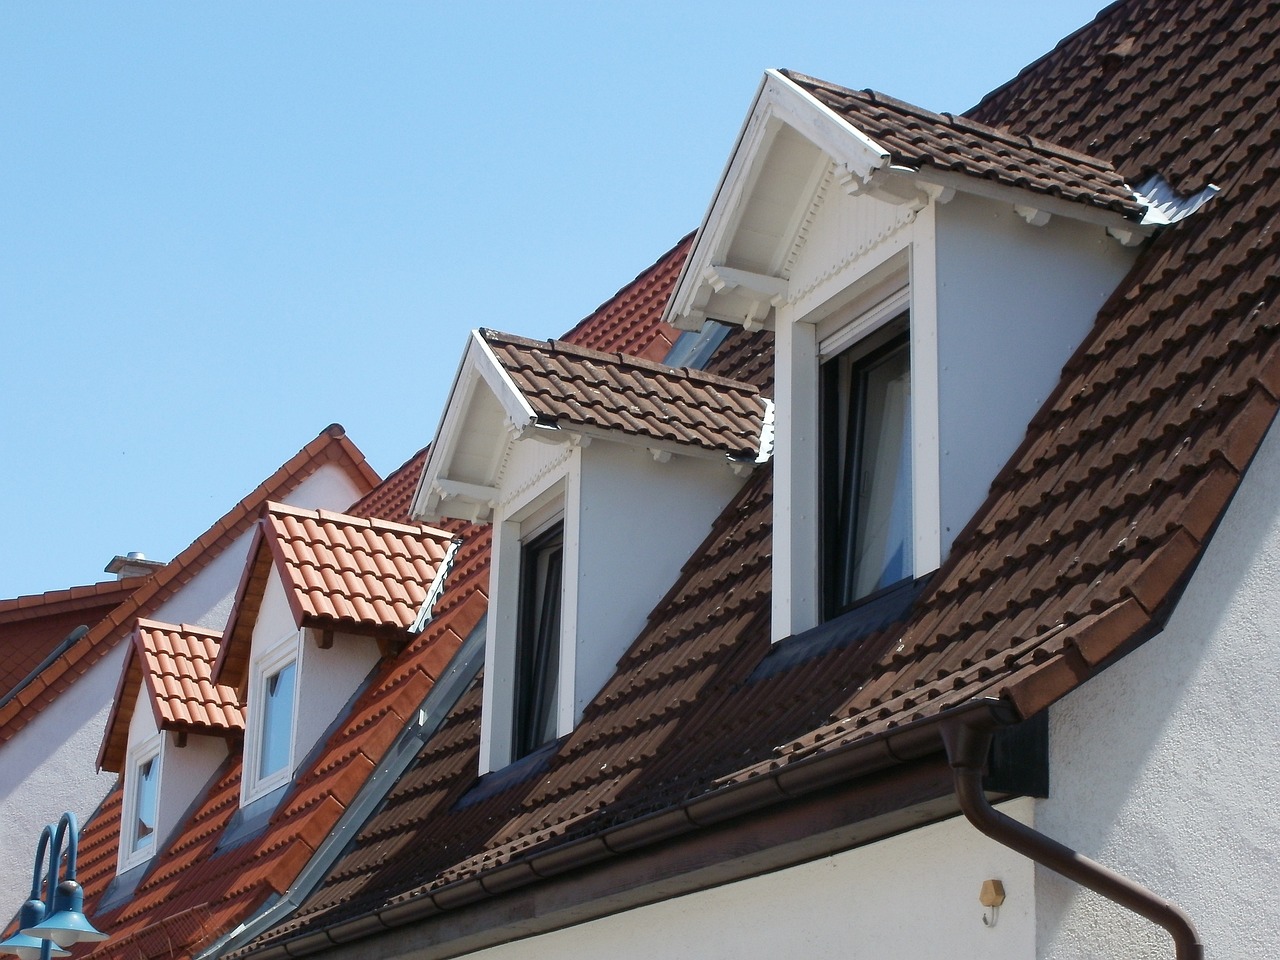
For traditional pitched or sloping roofs, as shown above, there are three different roof insulation types, this includes:
- Installing solid insulation boards between the roof joists.
- Placing fibreglass or mineral wool insulation batts within the joists.
- Directly applying spray foam insulation to the underside of the roof.
These insulation methods work well for both tiled and slate roofs. You can also choose to insulate the loft floor, but most people usually choose one option.
Key Considerations Before Installing Roof Insulation
Before you start fitting insulation in an existing property, it’s essential to consider the following key areas and work them into your plans.
Assess the Condition of Your Roof Space:
Begin by thoroughly inspecting the structural integrity of your roof. Check the rafters and joists for any signs of dampness, rot, or damage, and address these issues before proceeding. Tackling these problems early on will help prevent future complications. Additionally, a wildlife inspection, particularly for bats, should be conducted, as their nesting areas are legally protected. If bats are present, the installation may be restricted or delayed.
Maintain Ventilation:
Adequate ventilation is crucial to prevent condensation, which can lead to structural damage and pose significant health risks. When planning to install insulation, ensure you’re making provisions for proper airflow by leaving appropriate gaps for ventilation.
Ensure Easy Access:
Ensure you have safe and efficient access to your roof area for the installation. Move stored items from the loft, clean exposed rafters, and consider investing in a solid board for stable footing. A stepladder may also be necessary to reach higher areas effectively. Preparing this space ahead of time will prevent delays and help ensure a smooth installation.
Check Loft Conversion Planning Permission:
If a complete loft conversion is part of your plans, ensure compliance with structural and accessibility requirements. Most loft conversions are considered ‘permitted development’, meaning no planning permission is needed. However, be aware of limitations regarding volume enlargement, materials, and restrictions on homes in conservation areas. We recommend consulting with your local council to confirm these regulations before committing to your conversion project.
Methods for Installing Pitched Roof Insulation
How to Insulate a Roof With Boards
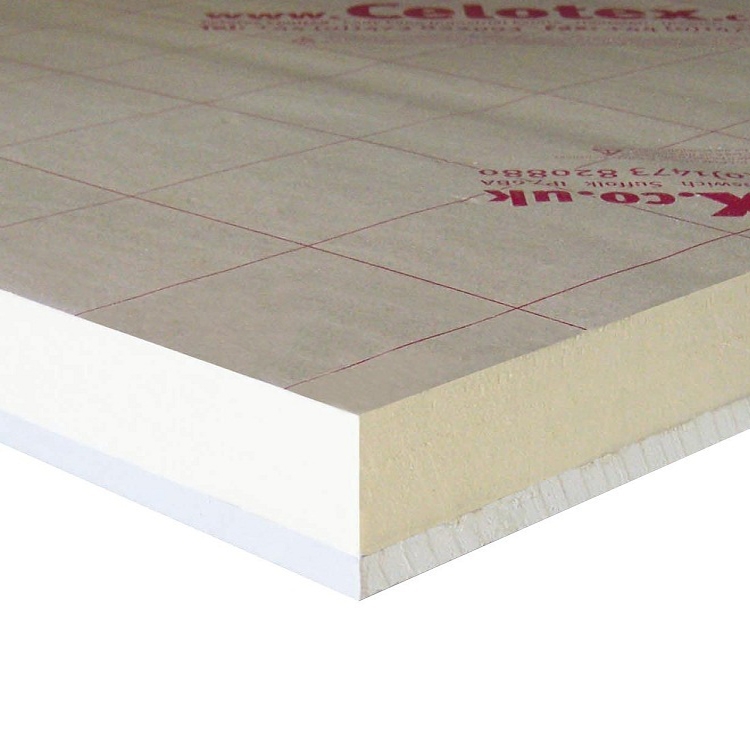
The first method involves installing insulation boards between the joists of your roof.

- Rigid Foam Insulation Board (for example, Recticel Eurothane GP PIR Insulation Board)
- A Flat Surface
- Straight Edge Ruler
- Permanent Marker Pen
- Utility Knife
- Clamp or Vice (rubberised)
- Measuring Tape
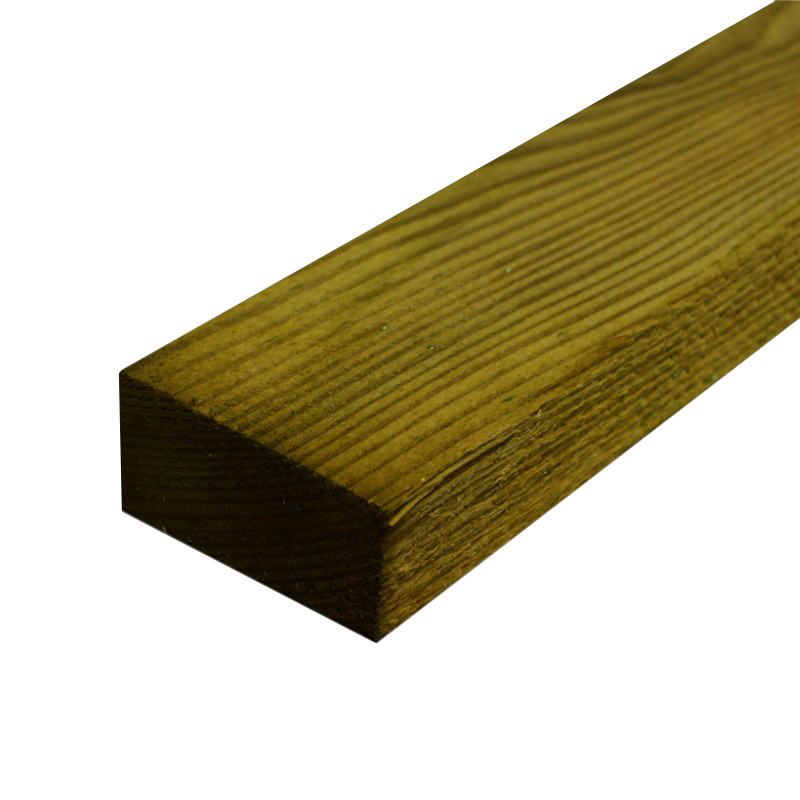
- Tanalised Roofing Battens (50mm)
- Screwdriver and Wood Screws / Nail Gun
- Vapour Control Layer (if the board doesn’t already contain one)
- Staple Gun
The Method
1. Measure the Gaps in the Roof:
Start by carefully measuring all gaps in your roof. Use a measuring tape to mark and record each area that needs insulation. Depending on your insulation strategy, you can insulate between the joists, over them, or both.
Accurate measurements are crucial for cutting the insulation boards to size so they fit correctly and guarantee complete coverage.
2. Create an Air Gap:
As previously mentioned, air gaps are essential for ventilation and air movement. An air gap will need to be 50mm wide. The best way to ensure this is by attaching timber battens of a 50mm width to the roof joists using a screwdriver or a nail gun. Follow this step by fixing the insulation boards to the battens.
3. Install the Insulation Boards:
Cut the insulation boards to size using a reliable utility knife. Mark the cutting lines with a straightedge ruler and a permanent marker to ensure precise cuts. Then, cut the board on a flat, solid surface to maintain stability and accuracy.
Once you have trimmed the boards to size, they should fit snugly within your roof space. If necessary, apply sealant on the back of the boards to secure them to the roofing battens for added stability.
4. Vapour Control Layer:
Some insulation boards come with a built-in vapour control layer, but if yours do not, you must install one separately. These sheets are essential for preventing moisture buildup and protecting the integrity of your insulation.
You can quickly fix vapour barriers to your roof with a staple gun. To attach the barrier effectively, make a fold at each joist for a stronger hold, and if you need to overlap sheets, staple a solid join between them for an effective seal.
5. Add More Boards or Plasterboard:
If additional insulation is needed, you can install more insulation boards on top of the joists, securing them with a nail gun.
To complete the installation, consider attaching plasterboards, which can be affixed using plasterboard screws. Various insulation plasterboards are also available that combine insulation and decoration in one product, providing a streamlined solution for your roofing project.
How to Insulate a Roof With Batts
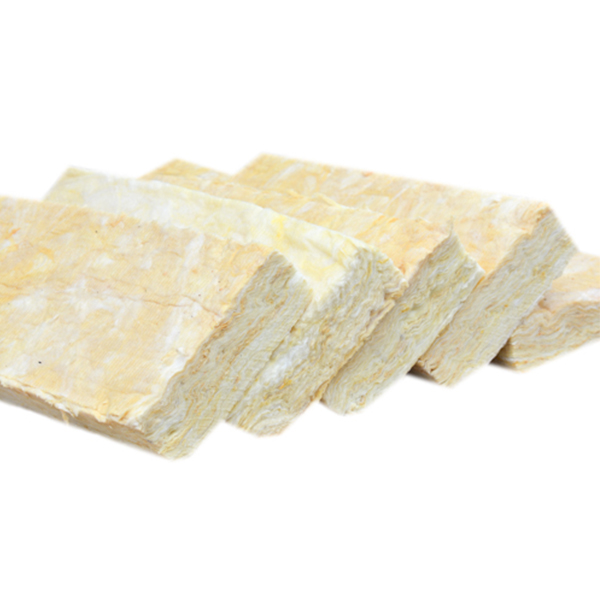
The second method follows a similar process, except it involves installing fibreglass or mineral wool insulation batts into the joists.
What You Will Need:
- Insulated Batts (e.g. URSA Cavity Batts or Superglass Cavity Batts)
- Solid Board
- Tape Measure
- Permanent Marker
- Gloves, N95 Respirator and Goggles
- A Bread Knife for Mineral Wool or a Utility Knife for Fibreglass
- Tanalised Roofing Battens (50mm)
- Screwdriver and Wood Screws / Nail Gun
- Staple Gun
- Vapour Control Layer (if not already included)
The Method
1. Measure Gaps and Cut Batts:
Start by using your tape measure to gauge the size of the rafters. This first step will determine how many insulation batts you’ll need and the sizes you’ll need to cut them.
The most efficient cutting method will vary based on the type of insulation material. For example, use a bread knife when handling mineral wool and a utility knife for fibreglass. Regardless of your chosen method, always prioritise safety during the cutting, handling, and installation by wearing protective gear. The recommended safety equipment includes gloves, a long-sleeved top, an N95 respirator mask, and safety goggles.

2. Create Air Gaps:
Similar to the previous installation method, we’d recommend fixing tanalised roofing battens to the rafters and joists. This step will create a 50mm air gap between your roof and the insulation, ensuring effortless and adequate ventilation.
3. Install the Insulation Batts:
Installing insulation batts is incredibly straightforward. Position the batts with the paper or vapour control layer facing into the loft and gently push them into place. Secure the batts by stapling them to the joists to hold them firmly in position.
Be cautious not to over-compress the insulation batts, as this can reduce their insulating ability. If the batts do not fit adequately without compression, spend some extra time cutting them to size for a better fit, ensuring optimal performance.
4. Vapour Control Layer
If your insulation batt lacks a vapour control layer, you must install one over the insulation. The barrier can be attached to joists with a staple gun, doubling up over the joists. If you need to overlap sheets, be cautious about stapling a solid join.
How to Insulate a Roof with Spray Foam Insulation
Another option for roof insulation is to apply spray foam directly to the underside. However, spray foam insulation is not recommended for DIY installations due to its technical complexity and associated health and safety risks.
If you are still interested in investing in this professional process, we recommend starting with a survey to ensure your home is suitable. If deemed appropriate, you can choose between closed-cell and open-cell spray foam.
- Closed-Cell Insulation: Closed cells will make your roof space airtight and block moisture, so your loft will need ventilation to avoid a condensation buildup.
- Open-Cell Insulation: This type allows moisture to pass through but offers a lower level of thermal insulation compared to closed-cell options.
Remember that the professional installation and specialised equipment involved in spray foam insulation will likely increase your overall roof insulation cost. Also, spray foam is challenging to decorate over, potentially limiting your design choices, especially if you plan to convert your loft. We recommend carefully considering these factors before making your decision.
Installing Roof Insulation into Different Roof Styles
If your desired application involves a non-traditional roof, you can still experience the benefits of roof insulation – although the approach may vary slightly. As promised, here are some quick insights into insulating various roof types.
Hip Roof:
A hip roof is a pitched roof where all sides slope downwards towards the walls. The angles and height of a hip roof can present challenges regarding ventilation and insulation. Before starting any work, we advise thoroughly surveying your roof. This way, you can develop an efficient strategy for success.
Curved Roof:
Due to their rounded shape, curved roofs are challenging to insulate using traditional boards and batts. This type of application is an instance where spray foam insulation can excel, providing thermal insulation that conforms seamlessly to the arches of the roof. Alternatively, you could insulate the loft floor instead.
Dormer Roof:
Dormers are vertical breakout windows within a pitched roof, often found in converted lofts or homes with habitable loft spaces. To insulate effectively, treat the rest of the loft roof using standard techniques like boards and batts, then attach smaller boards within the cheeks of the dormer where possible.
Additionally, consider upgrading the dormer window to double glazing and seal any gaps to enhance thermal insulation and prevent heat loss.
Log Cabin Roof:
Insulating a log cabin follows similar principles to traditional buildings, yet many owners will insulate them from the outside to maintain the rustic charm of exposed rafters. If you’re interested in this form of roof insulation, you’ll need to install a moisture-resistant sheet underneath the insulation boards. We recommend investing in a high-quality, BBA-approved, breathable membrane for this task.
Stock Up on Roof Insulation Supplies from Building Shop
Are you keen to put your new knowledge to the test? Purchase all your professional roof insulation materials and essential fixings from Building Shop. Take advantage of our competitive prices and exclusive bulk offers to ensure your project stays within budget. We also understand the importance of timely delivery, so you can trust us to provide the supplies you need exactly when you need them, no matter where you are in the UK.
If you require any further assistance, please don’t hesitate to contact our team. Simply call 01372 230 830 or email sales@buildingshop.co.uk to speak with one of our experts about specific product recommendations or tailored advice. We look forward to hearing from you.