Uncategorized
How to Build a Stud Wall

Dec
Are you looking to upgrade your property with a new home office, nifty utility room, or luxurious en-suite? Building a stud wall is a versatile, cost-effective way to reshape your interior without the hassle of heavy masonry. With this simple technique, you can soon bring your ideal layout to life using materials like timber, plasterboard, and fixings, and unleash your creativity in designing your space.
In this technical guide, Building Shop will walk you through the step-by-step process of how to build a stud wall, including how to add a doorway for easy access. Keep reading to learn the most efficient methods and materials to complete your project confidently.
Technical Guide: How to Build a Stud Wall
Stud walls are built from a timber beam frame and covered with plasterboard and plaster. These simple dividers can dramatically reconfigure your space, turning a large room into smaller sections – ideal for accommodating an extra bedroom, home studio or a cosy nook. In this guide, we’ll walk you through:
- How to build a standard stud wall.
- How to build a stud wall with a door.
With the proper preparation, materials, methodology and some patience, you can easily master this renovation technique in no time. The simplicity of the process will give you the confidence to tackle this project and transform your space.
What to Consider Before Building a Stud Wall
Good preparation is crucial for a successful stud wall project. By following these key considerations and being proactive in your planning, you can avoid complications later down the line and ensure a smooth and efficient project.
Plan Your Placement:
Before you begin, determine the exact location for your stud wall. The wall where you attach your new stud must be secure and safe for drilling or hammering.
Locate Important Features:
Use a detector to ensure no hidden internal cables or pipes are lurking behind your chosen wall. This preparation avoids hitting anything important during construction and prevents severe damage and costly repair.
Check Building Regulations:
It’s also wise to check local building regulations. Reviewing regulations beforehand will ensure your new wall adheres to specified standards, especially concerning fire resistance and ventilation. If you live in a listed building or conservation area, regulations may be stricter. Contact your local council building control department for more information by using the handy postcode search tool on the LABC website.
Tools and Materials: What You Will Need
You will need specific equipment and quality materials to create a sturdy, long-lasting stud wall. Gather these first so you have everything you need at hand.
Equipment:
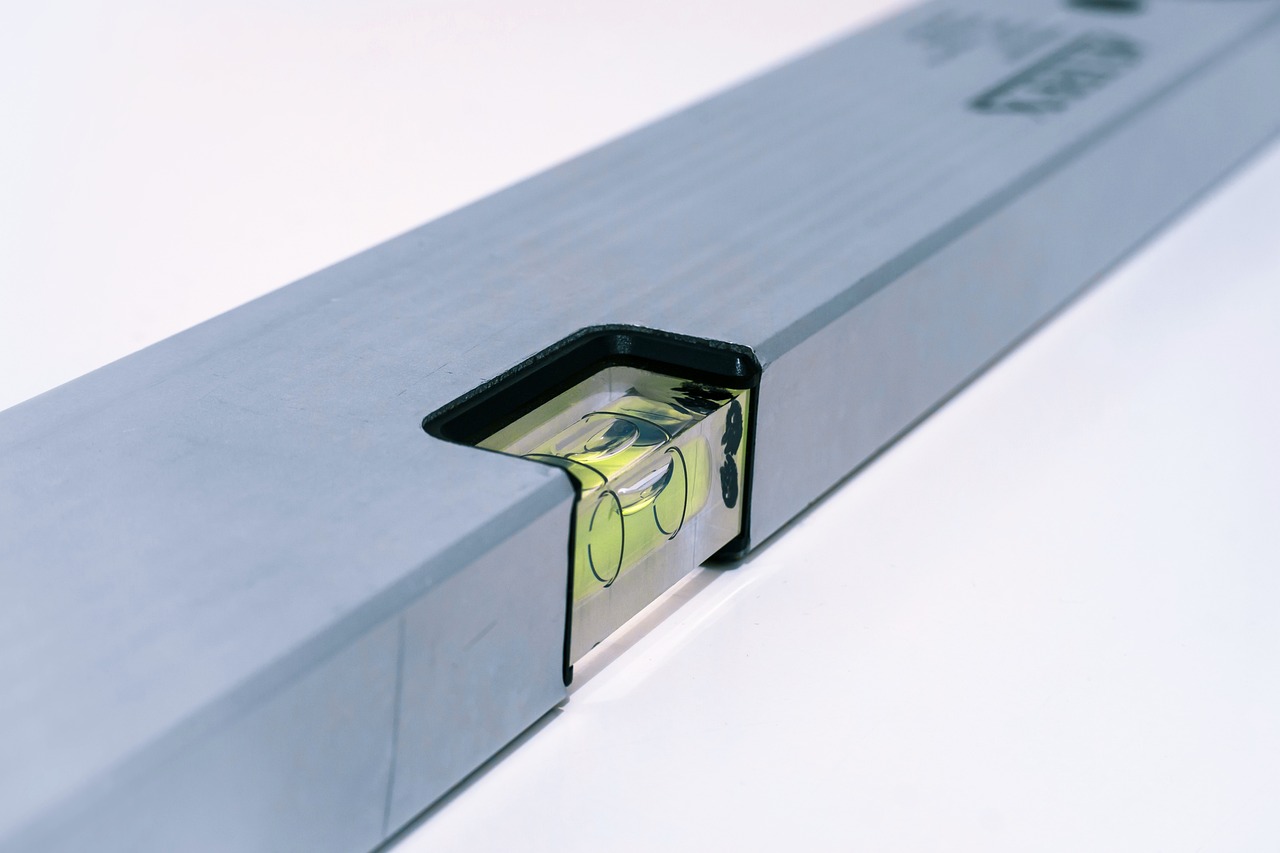
- Spirit level
- Pencil for marking
- Chalk line or plumb line
- Detector
- Nail gun
- Hand saw
- Hammer / Mallet
- Craft knife
- Straight edge
Materials:
- Nails
- Sawn timber (the most common size is 4” x 2”, in 2.4m, 3m, 3.6m or 4.8m lengths)
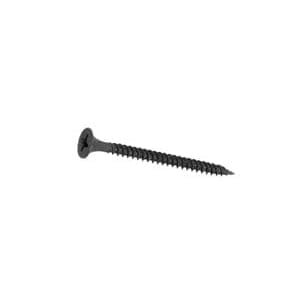
- Wood screws
- Drywall Screws
- Wood glue (optional)
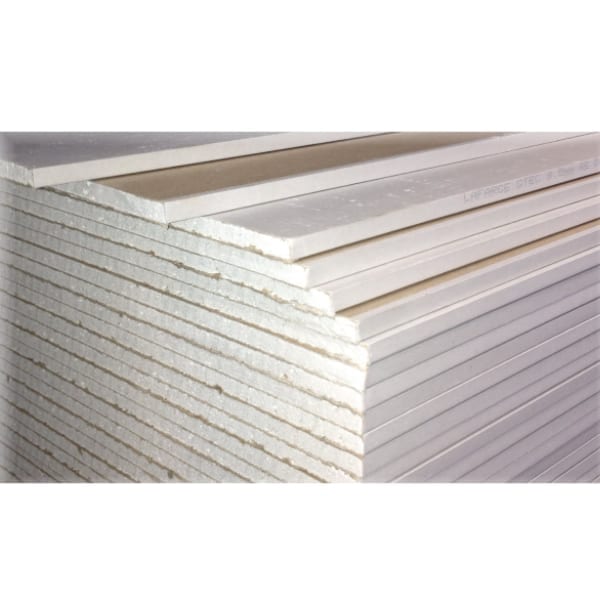
- Plasterboard (preferably 12.5mm thick, such as Plasterboard 2400 x 1200 x 12.5mm Sheet Tapered Edge)
- Insulation (such as acoustic insulation)
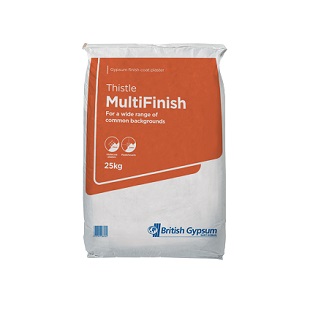
- Plaster (such as Thistle Multi Finish Plaster)
How to Build a Stud Wall
Now that you have acquired all your equipment and materials, it’s time to begin.
1. Mark the Position of the Wall
- Mark the point where the outside edge of the floor plate (the stud secured to the floor) meets the existing wall on the floor. Hang a plumb line from the top of the wall down to the mark on the floor. Then, following the plumb line, draw a line up the wall to the ceiling.
- Next, insert a nail into the ceiling at the top of the line, close to where it meets the wall. This nail indicates the edge of the ceiling plate. Repeat this step on the opposite wall, then run a chalk line between the two nails to mark where the ceiling plate will go. Use a spirit level to ensure it’s straight.
- With your ceiling plate marked, pick up your detector again to locate and mark the joists. These are the points where you’ll secure your ceiling plate.
2. Frame Your Stud Wall

Fit the Ceiling Plate:
- Grab your sawn timber for the ceiling plate and measure it to fit precisely between the walls. Cut the timber to size as needed. Hold the plate in place against the ceiling and mark your fixing points along its length. If the wall runs directly underneath a parallel joist, space these points at 400mm intervals.
- Take the timber away from the ceiling and drill clearance holes for screws at each marked point.
- Next, fix the plate to the ceiling along the chalk line and secure it using cross-head wood screws.
Fit the Floor Plate (Bottom Plate):
Fitting the floor plate will be simpler, as you can align it with the marks you made on the floor earlier.
- Measure and cut the timber for the floor plate to the correct size.
- Nail the floor plate to the bare flooring, spacing the nails approximately 400mm apart.
- If placing the plate between two existing walls or adjacent to skirting boards, ensure the timber fits this space snugly.
Fit the Vertical Studs:
- Measure the distance between the ceiling and floor plates at each end of the wall and cut two pieces of timber to fit. If skirting boards are present, use a hand saw to shape the stud to fit flush against them.
- Position the vertical studs between the ceiling and floor plate. Ensure they’re level and plumb, then secure them to the existing walls. This step produces the outer frame.
- For the vertical studs in the middle of the wall, mark their positions on the floor plate. These studs are usually equally spaced at 400-600mm intervals, but check your building regulations for the precise measurements required.
- Cut the additional vertical studs to size and place them in the frame according to your markings. You may need to use your mallet to tap them into place, ensuring they are level and plumb.
- Secure each stud to the ceiling and floor plates by driving wood screws at an angle on both sides.
3. Fortify Your Frame with Noggings
Once your vertical studs are secure, reinforce your frame by adding noggings. Noggings are short timber pieces that sit between the studs, strengthening and preventing the wall from shaking.
- Measure the gaps between the studs and cut down noggings to these sizes.
- Insert the noggings in regular intervals between the vertical studs, check they’re level and plumb, then secure them with wood screws horizontally through the studs on either side. You can also use wood glue if you feel it is necessary.
4. Cut and Position the Plasterboard
- Vertically: Position each board so the joins align at the centre of a stud.
- Horizontally: Secure the bottom row of boards to the frame and stagger the vertical joints.
5. Secure the Plasterboard
Once you’ve fitted the plasterboard on one side of the wall, insert insulation within the wall cavity. Then, secure the plasterboard to the other side.
Consider adding acoustic insulation to your stud wall to reduce sound transmission in your newly made room. You could also swap your standard plasterboard for a specialised Sound Plasterboard to enhance soundproofing and control noise transmission.
6. Add Final Touches
Complete the walls by skimming with a fresh coat of plaster. Allow the plaster to dry, then decorate with your choice of paint or wallpaper!
How to Build a Stud Wall with Door
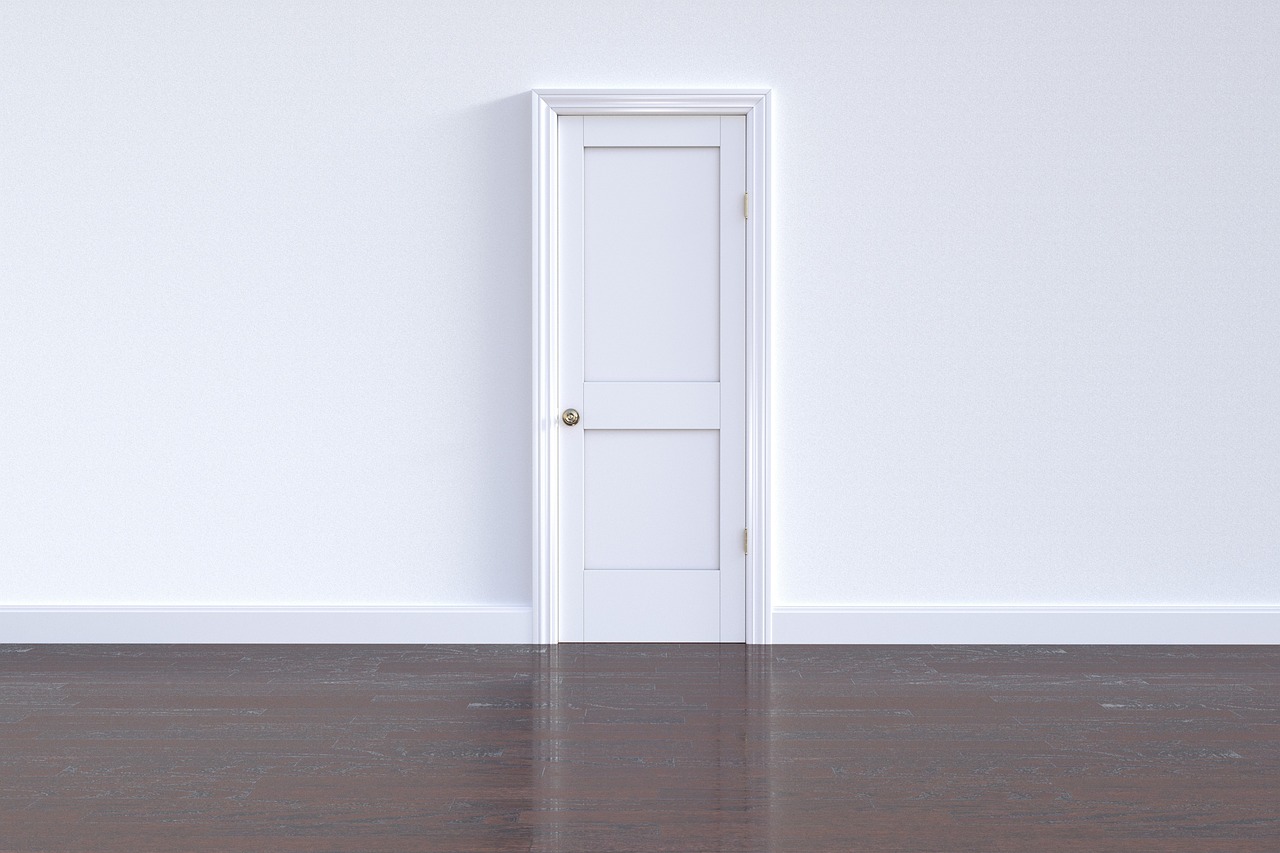
If your new stud wall will connect two different spaces, you’ll need to add a doorway between the rooms. To build a stud wall with a door, we recommend using a pre-assembled door frame and following the steps outlined above with these simple adjustments:
- When measuring the floor plate, lay the pre-assembled door frame on the floor against the timber. Mark the timber at each side of the door, then cut an opening.
- Using the pre-assembled door frame, measure a timber stud to run horizontally across the top of the door. This horizontal stud (also called a header) supports the weight of the wall above the door.
- Stand the door frame and lightly nail it in place, using a spirit level to ensure it’s straight.
- Hold your horizontal header stud in position, remove the door frame, and secure the stud.
- Add extra strength to your new doorway by fitting a small, cut-to-size vertical stud between the header and ceiling plate. This reinforcement helps distribute the weight and pressure above the door.
Discover All Your Stud Wall Supplies at Building Shop
Now you know how to build your stud wall, it’s time to source the perfect materials for the job. At Building Shop, we provide high-quality products at competitive prices along with attractive bulk deals to help you stay on budget. We also prioritise fast and dependable delivery across the UK, ensuring your supplies arrive when needed.
If you require any further assistance, please contact our friendly team. Call 01372 230 830 or email sales@buildingshop.co.uk to enquire about our products or seek expert guidance.